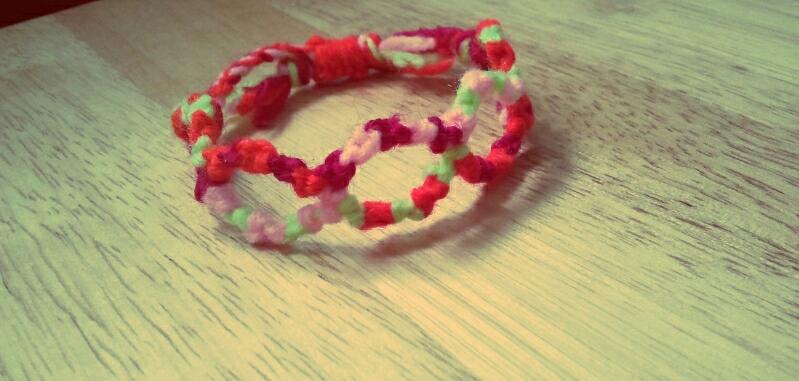
Double Knot Chain
Since I couldn't find a pattern on here for this, and I didn't use a pattern in creating it, I decided to try and post the tutorial and see if anyone likes it :)This is my first attempt at a tutorial. I hope my OCD of breaking things down into small steps doesn't annoy anyone!
-----------------
Step One: Select four string colours of your choice, you can use all the same shades, or contrasting colours, or anything else. It's up to you :) For the tutorial, I will be using "elementary colours" which are; blue, green, yellow and red.
Step Two: You will need two strings of each colour, making a total of 8 strings. Choose how long you want the strings to be (usually I over-estimate and have excess string afterword, but usually I measure the strings the length of one arm).
~For less cutting, measure out the string length, then double the string so the center of all 4 strings is where you will start. (see image below)

Step Three: Tie a knot to make a loop, which will be used later in tying the bracelet on.

Step Four: Separate the colours out so both strings of the same colour are together, as shown in the below photo.

Step Five: Take the two sets of strings on the left (for this tutorial, the blue and the red) and tie the two blue strings at the same time onto the red string twice, making one forward knot.
(like this)

Step Six: Tie a backwards knot with the red strings onto the blue strings.

Repeat five, six, and five again. Do not repeat six a third time.
Your bracelet should look like this so far:

Personal tip- I count the knots that I do with this bracelet, for the first knot, it's 1,2. The second knot (with the other colour) is 3,4. All the way to 10. If this confuses you, just ignore it and continue on with the tutorial.[i]
Step Seven: Starting with the right-most strings (here, it's the green ones), tie a backwards knot onto the two strings next to it (for this tutorial, the yellow strings).

Step Eight: With the yellow string (or, whichever colour string you're using in this position), tie a forward knot onto the other string.

[i]Repeat steps seven, eight, and seven again. Do not repeat eight a third time.
Bracelet should look like this now:

Step Nine: Here comes the fun part! Take the two center groupings of strings, and tie a forward knot (switching the two center strings to the opposite sides).

Start again with step five (5) and continue through step nine (9) until bracelet is desired length.

Optional: Take the remaining strings after bracelet is desired length, and braid them to make the bracelet removable later!

Then tie the bracelet on and enjoy! :)
I hope this tutorial was easy enough to understand. If there is something you wish to be elaborated more, comment and I'll try to fix the problem!
Editors
The original author of this tutorial is cadillacphunque but it was also edited by Stefan, Jeckle and Alicat.


Moderator comments Show comments