(( Bracelet )) #1 - Striped bracelet
Teaser video
Thanks to Stefan for this video.
Introduction
This tutorial is supposed to teach you how to tie normal pattern #1, the striped and easiest one. If you want a printer-friendly version in PDF, click here
Prepare strings
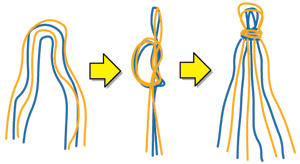
To make this bracelet, you will need yarn or threads in different colours. In this example I've used 8 strings. The length should be about 75 cm when you start to tie. Above you see a solution for starting.
Tie the main bracelet
Step 1

Start with the thread on the left. Make a right-hand knot as the picture shows, and tighten it.
Step 2
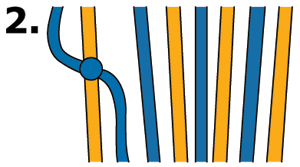
If you've done it right, it will look like this.
Step 3
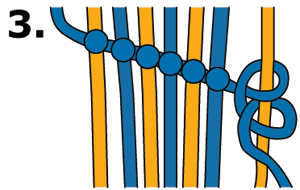
Continue to make right -hand knots with the same thread on the next thread in line. Do so on every thread until you've made one row.
Step 4
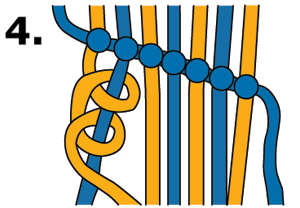
Now you take the thread out on the left again, and do the exact same thing as in steps 1 to 3.
Step 5
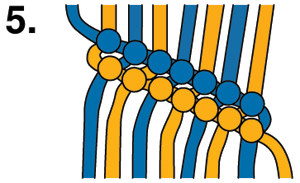
After two rows it looks like this. Go back to step 1 and continue like that in the same way until the bracelet is long enough.
Alternative tutorial 1: Using 4 strings
Step 1
Cut two strings of different color, about 4 feet (48") long each. Next fold them in halve to make about a 1/4 inch loop at the top.
Arrange your strings like this: 1234. Let's say color one is strings 1 and 3, and color 2 is strings 2 and 4.
Step 2
Tie a FK (forward knot) with string 1 over 2, 3 and 4. Now the strings will be in the order 2341.
Step 3
Tie a FK with string 2 over 3, 4 and 1. The strings will be ordered 3412 after this step.
Step 4
Tie a FK with string 3 over 4, 1 and 2. Your strings will now be arranged as 4123.
Step 5
Tie a FK with your string 4 over strings 1, 2 and 3. Your strings should now be in the same order as you started.
Repeat steps 2 to 5 until the bracelet is long enough.
Alternative 2: Candy stripe with 6 strings
Bracelet: Diagonal/Candy Stripe.
Difficulty: Very Easy.
Looks good with: Any number of strings (6+ looks best).
What you need: 6 strings, all different colors. Strings should be 2 - 2.5 feet. (24-30 in.)
This tutorial will teach with: 6 strings, 6 different colors.
You need to know how to do: Forward Knots (f/k). REMEMBER: TIE DOUBLE KNOTS!
It helps that you know how to make the: The Diagonal/Candy Stripe on this website.
Other Info: This is the basic friendship bracelet and is very quick to make.
Step 1. Lay your strings out in this order: Red, Orange, Yellow, Green, Blue, Purple. (Or your colors)
Step 2. Tie a f/k with the red string on orange. Then tie anther F/K with red on yellow. Repeat this until red has been tied all the way across the other strings. Remember to tie double knots. Now red should be on the right side of your strings.
Step 3. Tie a f/k with orange on yellow. Repeat this until orange has tied all the way across your strings (including the red string) This should make the order of strings: Yellow, Green, Blue, Purple, Red, Orange. Repeat these steps with the other strings until the bracelet is as long as you like. This is the basic friendship bracelet. I hope it works for you! Comment if you have any questions, concerns, quibbles or comments. I'll be glad to help you! Send me a private message to user "monkshood". Thanks! Please comment! Here are some links to my Diagonal/Candy Stripes:

My 5 stringed Sweets Candy Stripe.
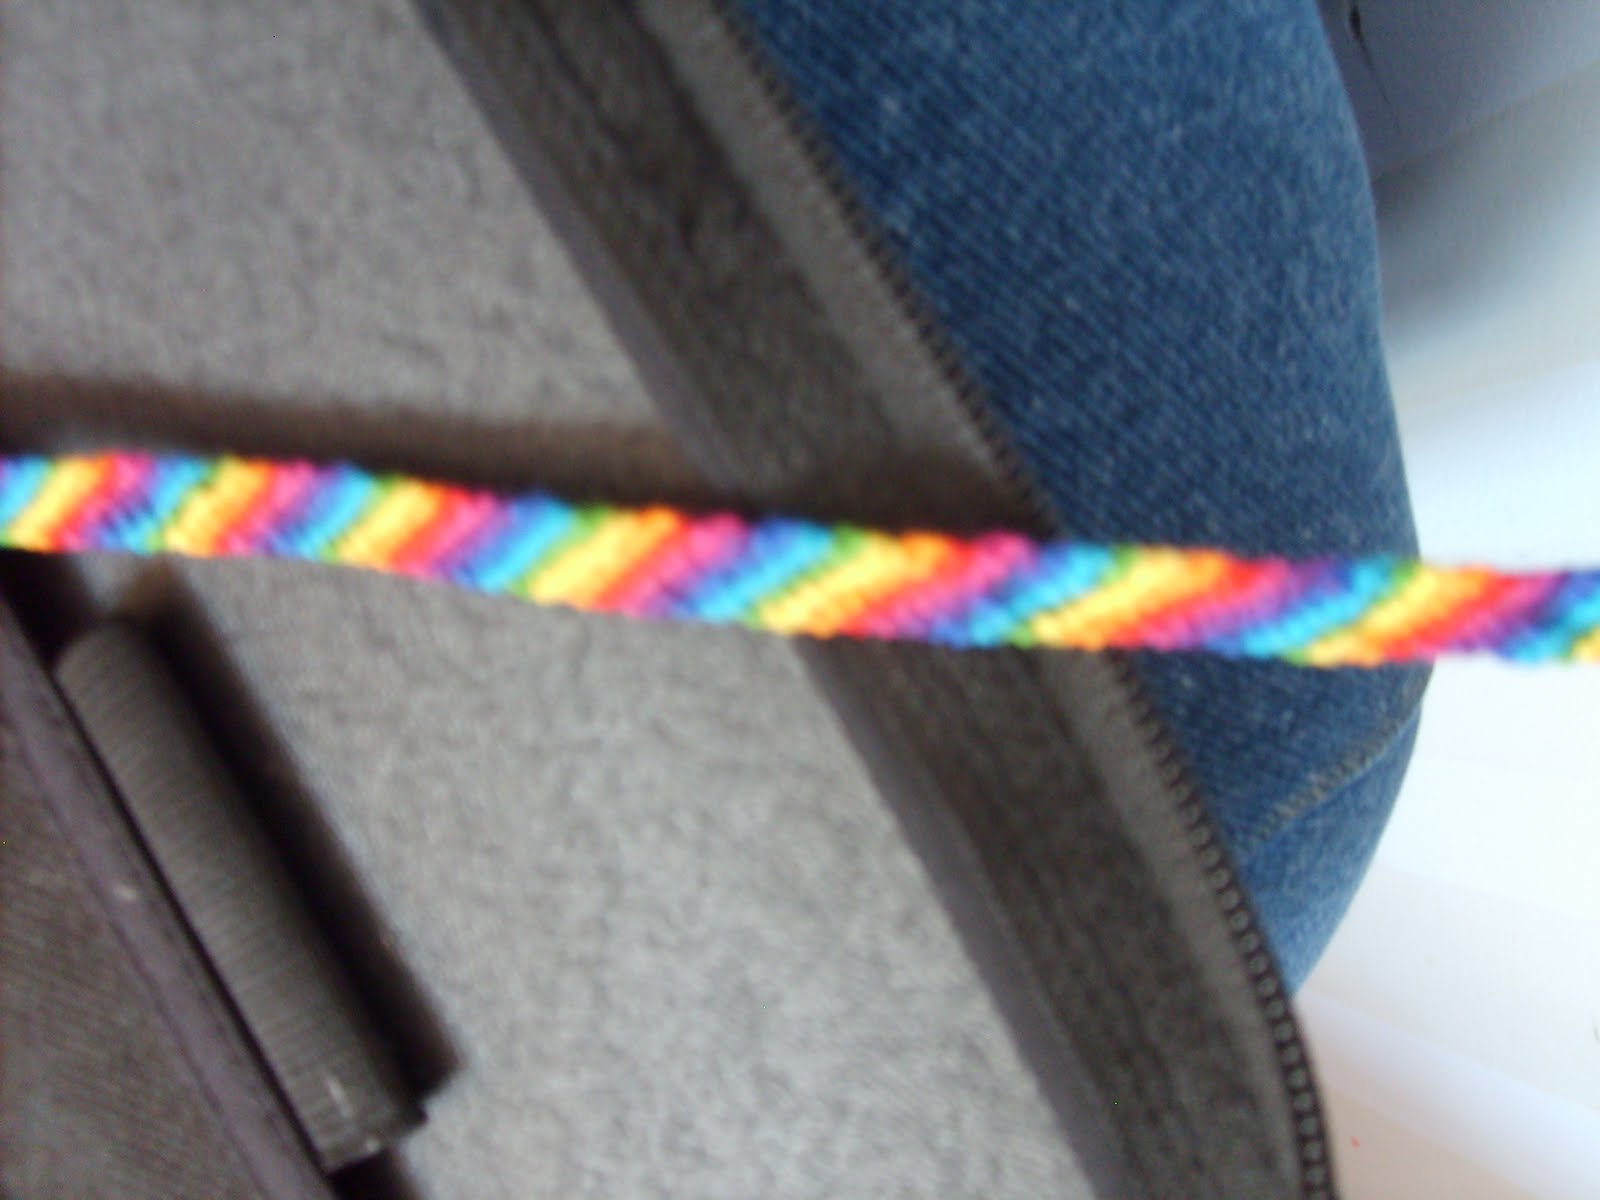
My 8 stringed Rainbow Candy Stripe.
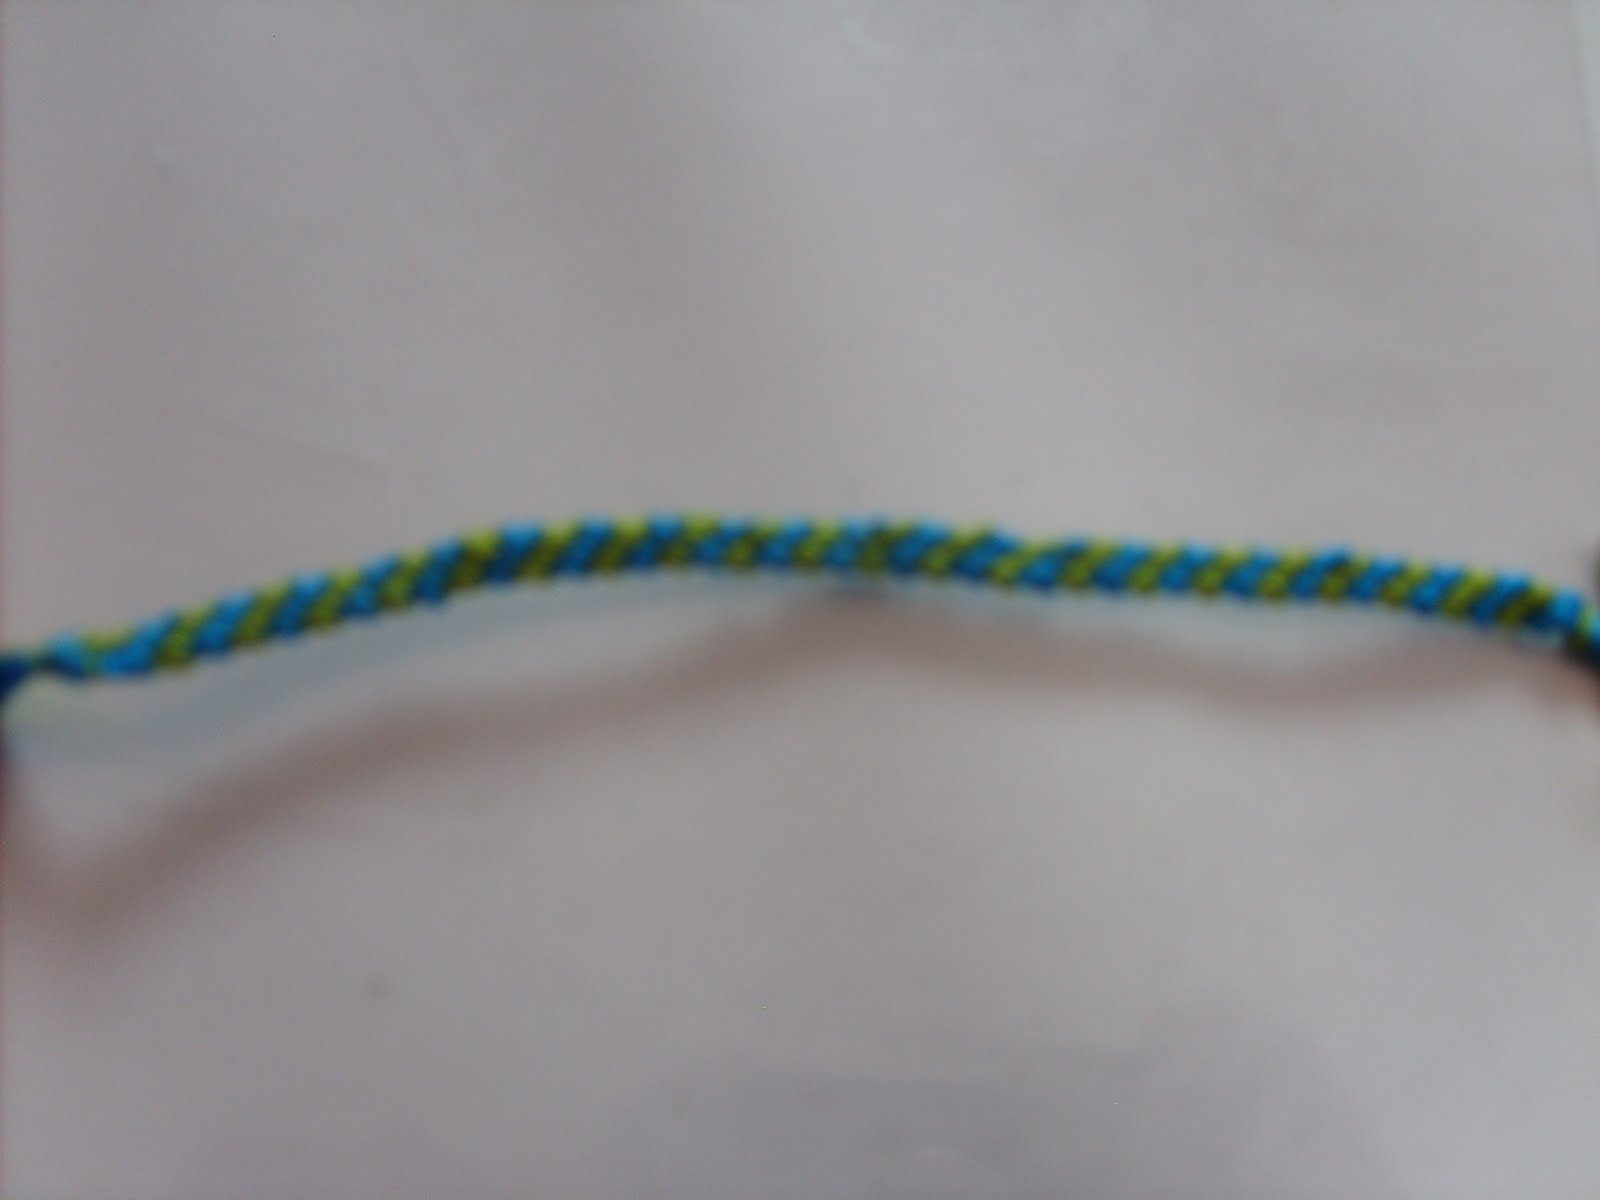
My 4 stringed Lime Water Candy Stripe.
Kallum. Here are more pictures: http://friendshipbraceletideas.blogspot.com/p/candy-stripe.html
Alternative 3:
You need any amount of strings (6 looks best) that are all different colors. Number 123456.
Step 1. Take string 1 and make a foward knot on string 2. Now the order is 213456.
Step 2. Take string 1 and make a foward knot with string 3. Now the order is 231456.
Step 3. Keep doing that with string 4,5,and 6 so that string 1 is last. Now the order is 234561.
Step 4. Repeat step 1 - 3 with string 2. When you're done with that, do all the other strings. That's how you make the bracelet!
Alternative 4 by turtles004
How to make a rainbow colored candy striped friendship bracelet
1=red 2=orange
3=yellow 4=green
5=blue 6=purple
Step 1:You start with embroidery floss. Set it up like 123456123456. When you are starting the bracelet it will look like this
Step 2:So what you do is take the to reds and make a forward knot then take the red that you just did a forward knot with and make a forward knot onto the orange then another forward knot with the red onto the yellow then make a forward knot with the red onto the rest of the colors.
Step 3:Now you take the orange and make a forward knot on the yellow, green,blue,purple,red,orange,yellow,green,blue, and the purple.
Step 4:You keep on making forward knots on the colors with the first string on the left
Editors
The original author of this tutorial is Stefan .
Moderator comments Show comments