The Wave/Peruvian
| Table of contents |
|---|
| 1 - What You Need 1.0 - Step 1 1.1 - Step 2 1 - Pictures 2 - Videos |
What You Need
- 8 strings (embroidery floss usually works best) ? 2 threads of each colour
- 2 pieces of yarn. These two should be thicker than the floss ? but if you have no yarn, you can use 2 or 3 strings of floss for each piece of yarn. You will not see these 2 strings!
- You should make each string approx. 90 cm long.
To start off, let's say your colours are red (A1 and A2), blue (B1 and B2) and green (C1 and C2), and the yarn colour is black (D1 and D2).
So your string order to start off with should be:
A1 A2 B1 B2 C1 C2 D1 D2
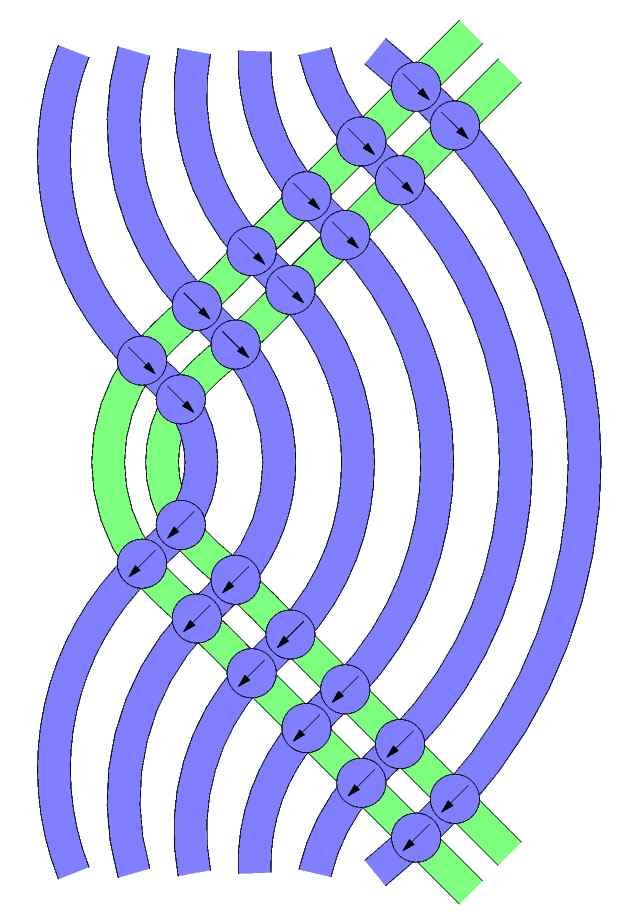
Step 1
Take string C2 and make a forward knot over string D1, and another forward knot over D2.
Take string C1 and do the same ? one forward knot over D1 and one forward knot over D2.
Repeat this with the rest of the colours until all your threads are on the right side of the yarn.
Step 2
Your new string order now should be D1 D2 A1 A2 B1 B2 C1 C2 (there's a picture below to clarify this!).
Take A1 and make one backward knot over D2, and one over D1.
Then take A2 and make one backward knot over D2, and one over D1.
Repeat this will all your colours until all the threads are on the left side of the yarn, and back in the same position as at the beginning.
Then you just start over, and do steps 1 and 2 until your bracelet has reached the desired length.
When you're done, turn the bracelet over :-) The reverse looks more impressing than the front!
*Note: If you would like the sides of the bracelet straight, pull tight. If you would like them curvy, pull the strings lightly.*
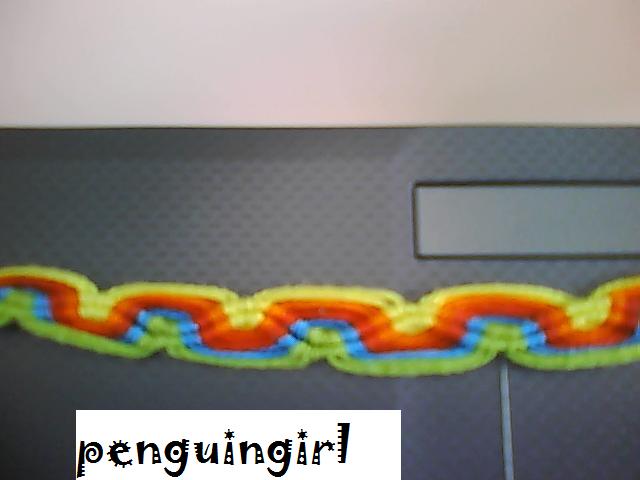
Pictures
Here are some picture examples...


Videos
video by Weenie
Editors
The original author of this tutorial is penguingirl .
Moderator comments Show comments