(( Bracelets )) Pearl Bracelet
| Table of contents |
|---|
| 1 - Materials 2 - Step by Step 2.0 - Step 1 2.1 - Step 2 2.2 - Step 3(attaching the clasps) |
These bracelets are perfect as gifts for your friends. They're super easy to make and look AWESOME. Hope you enjoy! :)
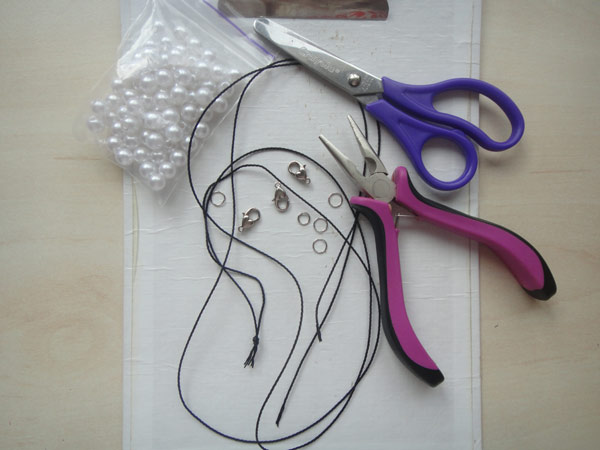
Materials
2 pieces of chord, 20 inches each;
Beads (pearls) (17-20);
Clasps (2 small rings and a clasp);
Jewelry pliers;
Tape or a clipboard to help you hold the strings.
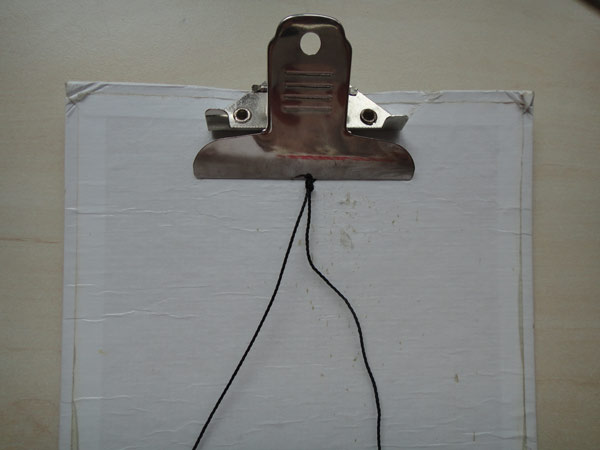
Put 2 pieces of chord together and tie a knot at the top. Tape them to your table or put them under the clipboard.
Step by Step
Step 1
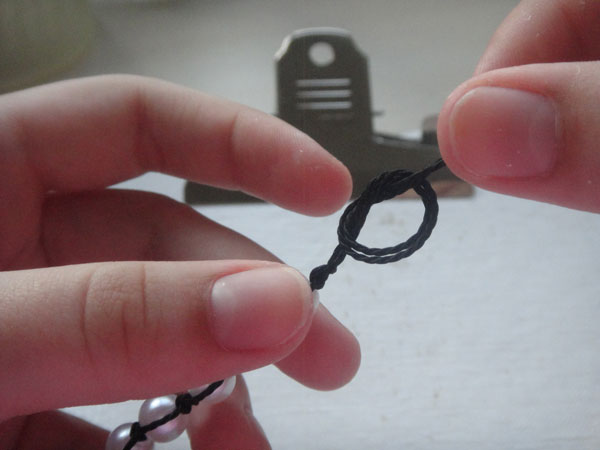
Put 1 bead on the right piece of chord.
Tie a forward-backward knot with a left piece of chord on the right piece.

Step 2
Repeat step 1 till the length of your bracelet will be half an inch smaller than your wrist size.
Then, tie a knot at the end.
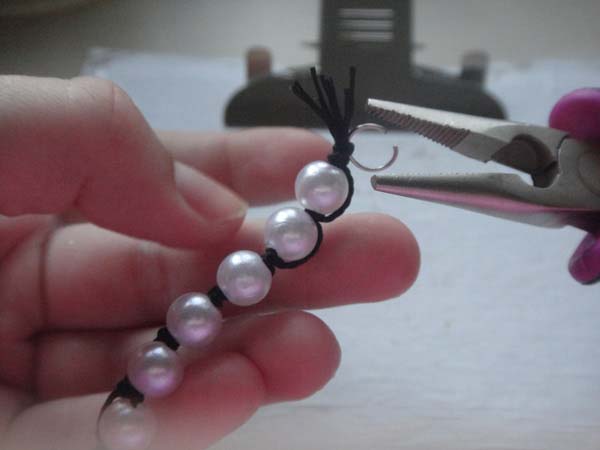
Step 3(attaching the clasps)
We will attach clasps on the knots on the ends of the bracelet using pliers.
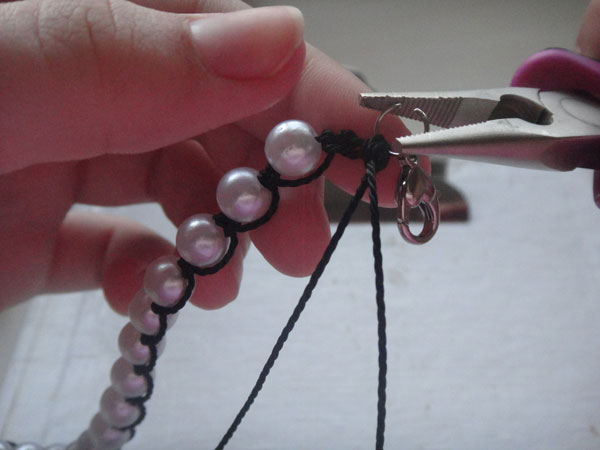
Attach 1 small ring on one side of the bracelet and a ring and a clasp on another.
Then, cut of the excess.
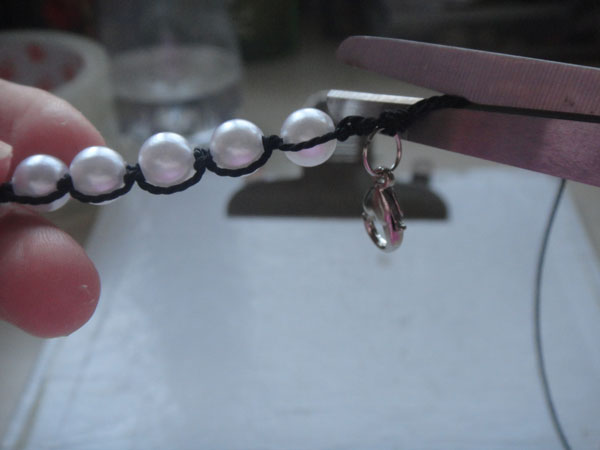
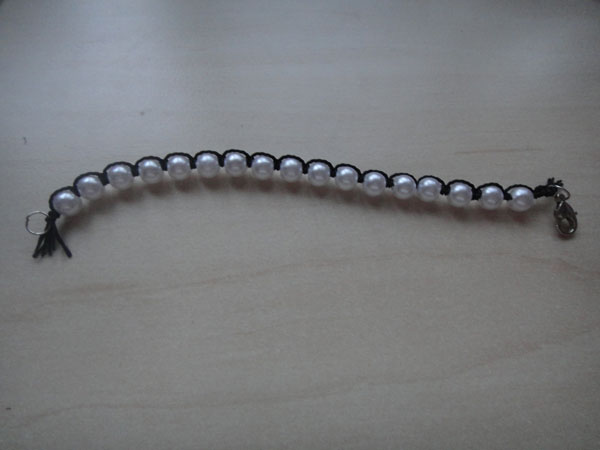
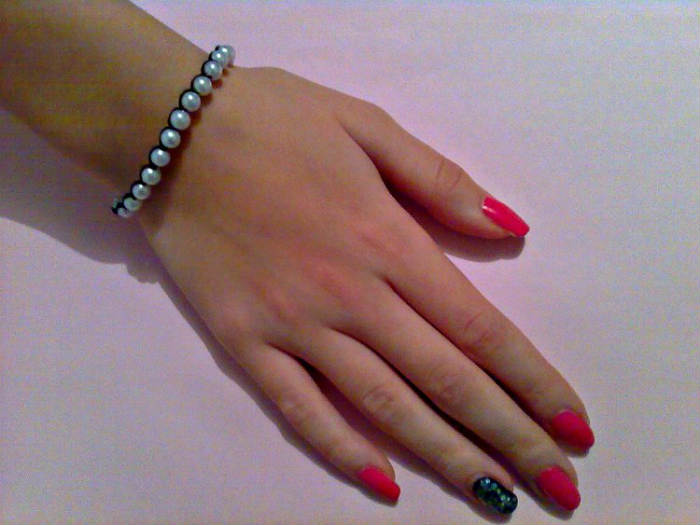
THE BRACELET IS READY!
Hope you've enjoyed the tutorial! :)
Oh, and don't forget to share the photo of your work with others. Upload your photos! :)
Editors
The original author of this tutorial is Alisssssy but it was also edited by Kestrel and Alicat.
Uploaded photos (see all 7)

Comments