(( Buckle )) Lark's Head Knot
Variation on the Bracelet Buckle - Made With Mixed Knots
This tutorial will show you how to start your bracelet with a simple, quick buckle that can be used with any pattern.
I will be making pattern 58637
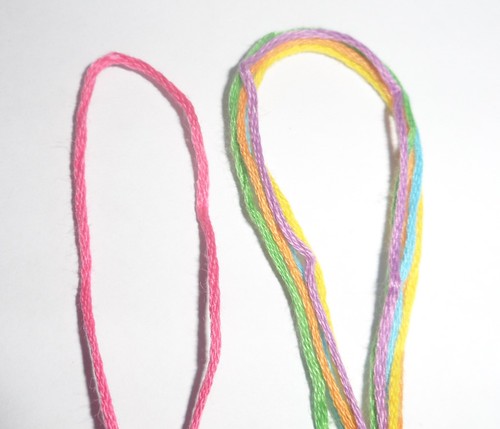
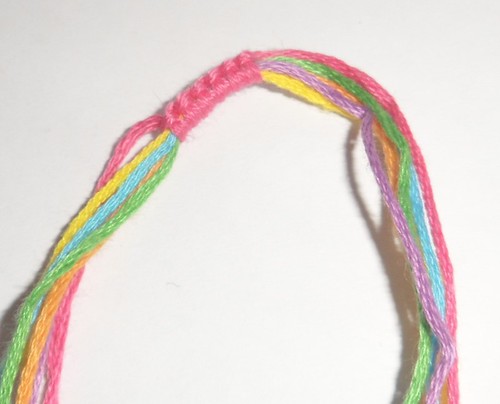
Step 1:
First cut your strings to desired length, making the one you want to use for the buckle about 8 inches (20 cm) - 13 inches (30 cm) longer. Usually I choose the edge string for the buckle. In this case, that would be colour A.
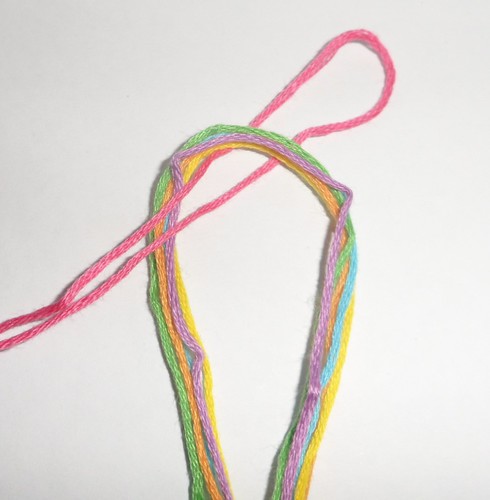
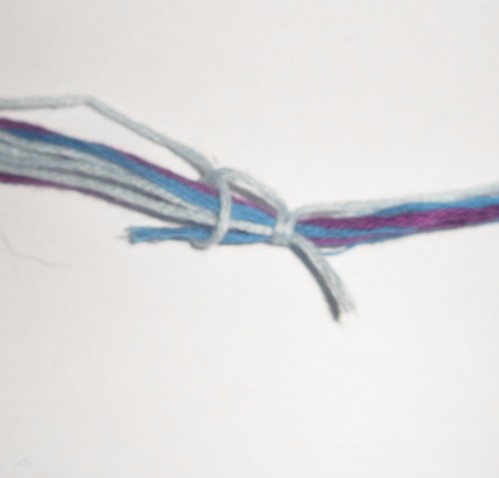
Step 2:
Once your strings are cut, fold them in half and make a lark's head knot.
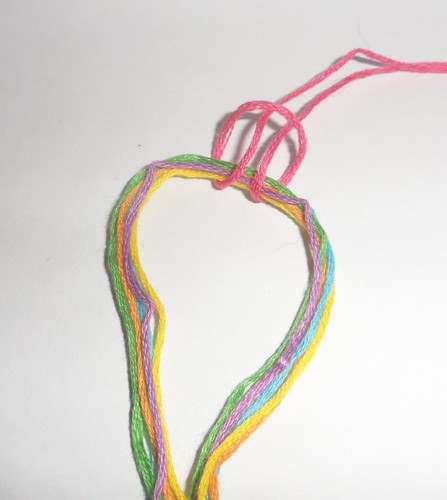
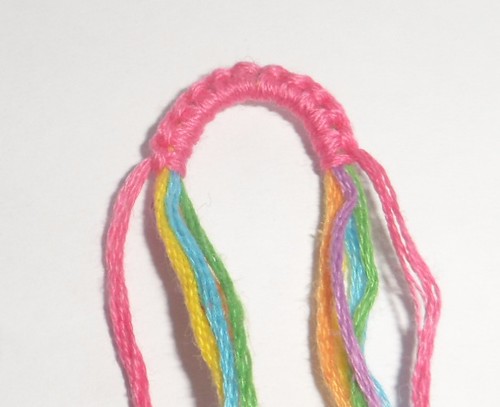
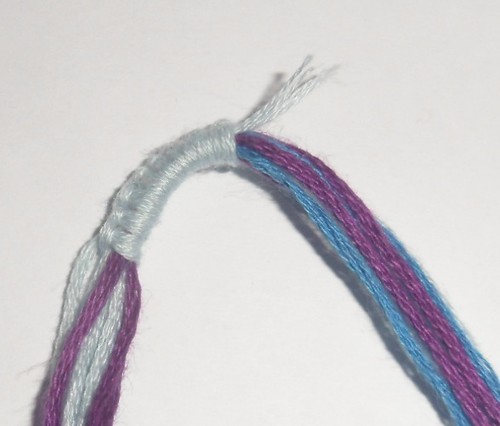
Step 3:
Now you have the middle/start of the buckle done. Starting on one side, alternate doing forward half hitches and backward half hitches for about half an inch. A half hitch is half of one knot you make in normal patterns.
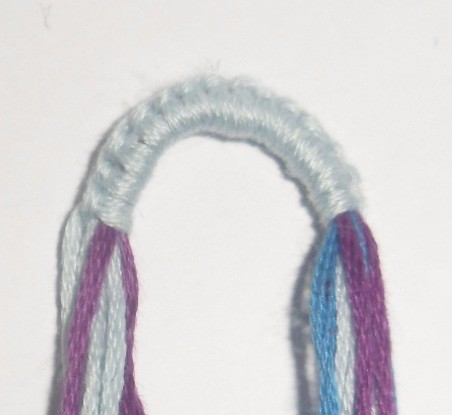
Step 4:
Then, do the other half using the same technique until you get the desired length. Of course this will be larger or smaller depending on how large the pattern is.
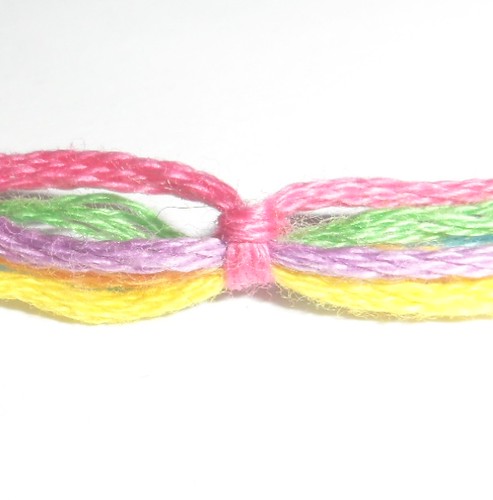
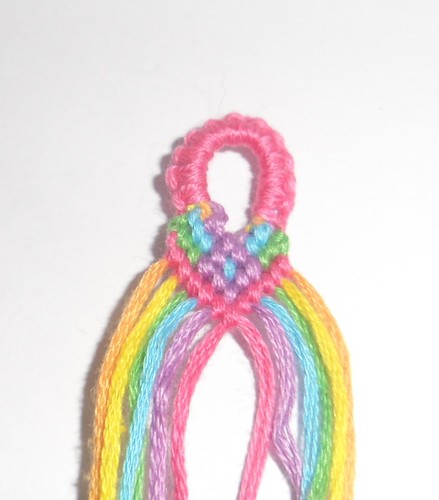
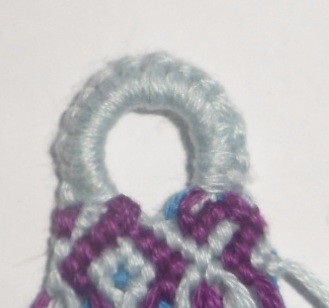
Step 5:
Your buckle is complete! Fold it in half and begin your bracelet. You can use Foz's tutorial if you need help making a straight first row.
How to seamlessly add single strings to the buckle
I will be making pattern 2112
Step 1:
First cut your strings to desired length, making the one you want to use for the buckle about 8 inches (20cm) longer. This pattern has an uneven amount of colors A and C, so I cut half the amount I would normally to fold it plus an inch to hide in the buckle. Usually I choose the edge string for the buckle. In this case, that would be color A.
Step 2:
Once your strings are cut, fold all the longer strings in half. For the loose half strings, place them about an inch past the halfway mark and make a lark's head knot including them. (If you do not know how to make a lark's head knot please look above.)

Step 3:
Now you have the middle/start of the buckle done. Starting on one side, alternate doing forward half hitches and backward half hitches for about half an inch. A half hitch is half of one knot you make in normal patterns. Make sure you go around the loose strings!
Step 4:
Then, do the other half using the same technique until you get the desired length. Of course this will be larger or smaller depending on how large the pattern is.
Step 5:
Your buckle is complete! Fold it in half and begin your bracelet. You can use Foz's tutorial if you need help making a straight first row.
Coming soon: How to make multicolor buckle!
Editors
The original author of this tutorial is Alicat .
Comments