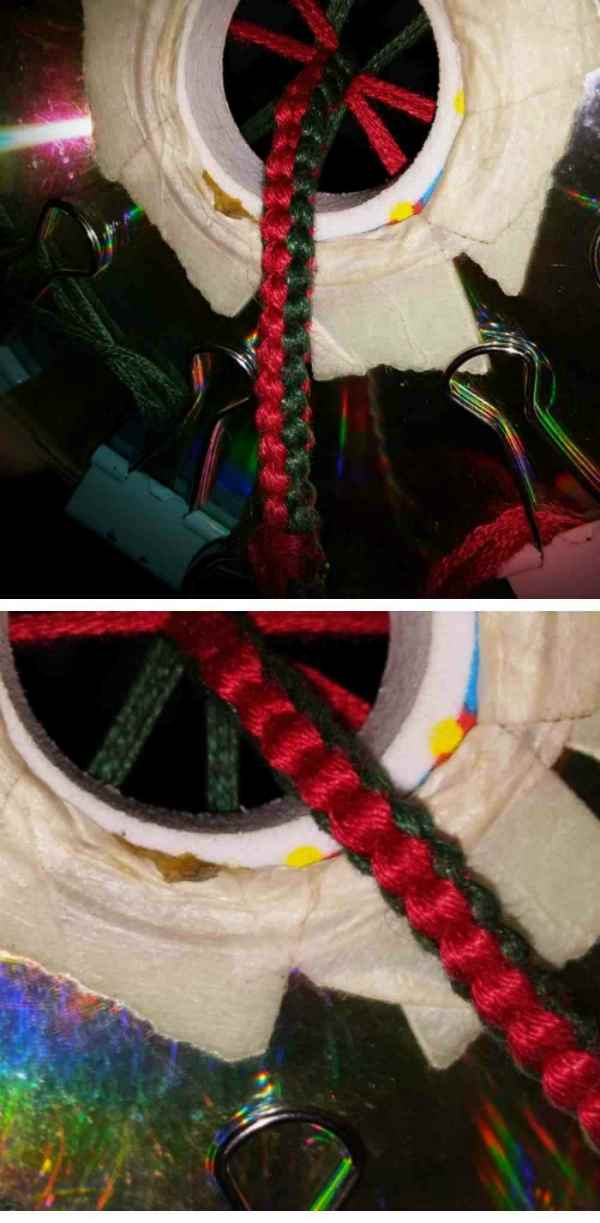
(( Bracelets )) Kumihimo Flat Braid
Materials
-A Kumihimo Plate (You can make your own out of cardboard or dense foam. I used a round one, a square one can be used for this too.)
- 3-5 (or more if you so desire) 20 inch strings in two colors (so 6-10, or more)
- 2 strings about 40 inches long of a third color
In this example I will use purple, green and pink and it will be 4 strings wide.
So:
4 purple at 20 inches each
4 green at 20 inches each
2 pink at 40 inches each
Step by Step
Step 1
Tie your strings together and assemble them so that all of one color is at the top, all of the second color is at the bottom and one string each of the third color are to the left and right.
Like this:

Step 2
Going from left to right, start at the bottom and move the first string to the first empty slot on the top. Then move the first string from the top up to the newly vacant spot at the bottom.


Take the next string on the bottom, right next to the one you just moved, and move it to the top, take the next top string and move it to the bottom.


Step 3
Continue doing this until all of your strings (except the two on the sides) are opposite of where they started.

Now pull your side strings tight so that everything comes together in the middle.

::Important Note:: Not pulling the side strings will make a looser pattern.

Step 4
Cross the left side string to the right, and the right to the left.
I like to always start with the left and cross over the top to keep it even. *See further below!

Step 5
This is important:
- For a straight flat braid you need to repeat the steps above in opposite way. Start with the top left string, then the bottom left string, instead of bottom first and then top. I also changed the crossing of the side-strings, left over right instead of right over left.

- For a spiral braid you need to turn the plate, and then repeat the steps above.

Variations
The above is just one way of braiding a flat kumihimo. There are many more ways you can move your strings. Every way has it?s own possibilities for making different patterns.
See in the comments under some of the pictures uploaded to this tutorial for instructions on how to make that pattern.
And see below for more patterns.
Chevron/ Anda Gumi

Repeat after the last step. Note that in some steps (step 5 and step 8) you only move strings to make space for the next step!
Little heart/ Hira Kara Gumi

Mitake Gumi

Edo Yatsu Gumi
This is actually a hollow round braid.

You can find generators for some of these braids and more on Craftdesignonline.com
Video
Here is a video from zsylvester
Editors
The original author of this tutorial is AutumnRane .


Comments