How to make a nice Alpha Pattern with MS-Excel and Text-Editor
Hi everybody!!. I have made this tutorial for newbies in alpha pattern. You can use MS-Excel and a simple text-editor for make this.1. Open MS-Excel (Start Menu - Programs - Microsoft Office - MS Office Excel)
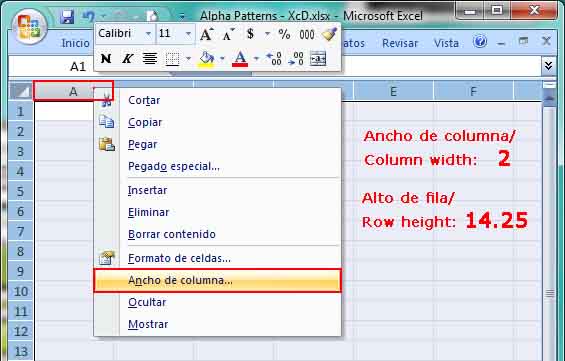
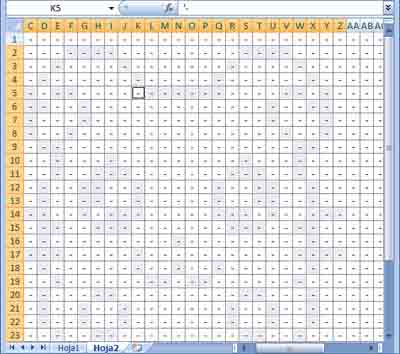
2. Click in the "Select All" button or use Ctrl + A. (Look here "how-to").
3. Change the cell width to "2" and cell height to "14.25" (19 pixels square). (Look here "how-to")
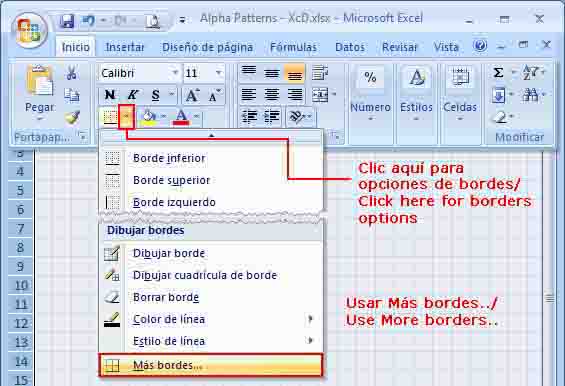
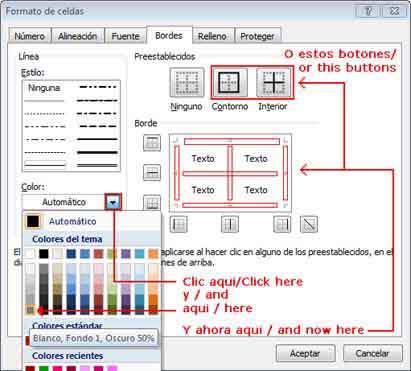
4. Now create the borders for the cells. Use a light color for this purpose.
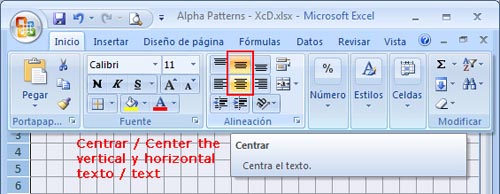
5. Align the horizontal and vertical text in the middle.
6. In the cell A1 insert the text '- (apostrophe and hyphen) and duplicate it using the fill handle to fill the desire cells (Look here "how-to"). The hyphens are for the background color configuration.

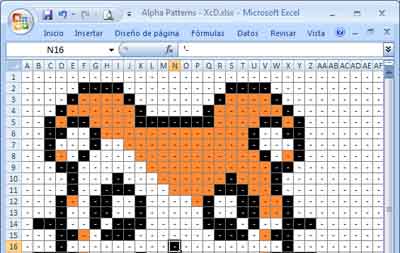
7. Select the wished cells for image construction. Use the Control (Ctrl) key for non-adjacent cell.
8. Fill the cells with the wished color. Do it the same step for text color (if you used a dark fill color, use a light text color).

9. Repeat the same step for other fill color.
10. The next step is fill each color with a single letter. For example, use "B" for black, "C" for the next color, etc.
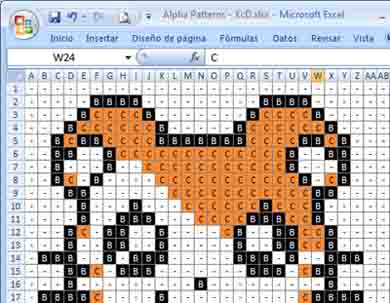
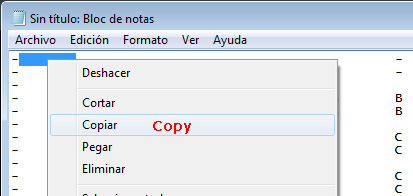
11. When you has finished, select the entire imagen (with a one square margin preferably) and copy (Edit - Copy) or Ctrl + C. Then paste it in Notepad (or another Text-Editor).
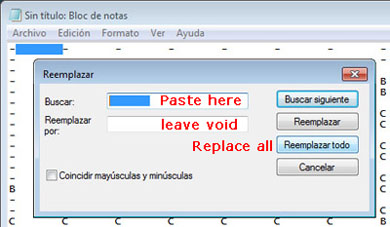
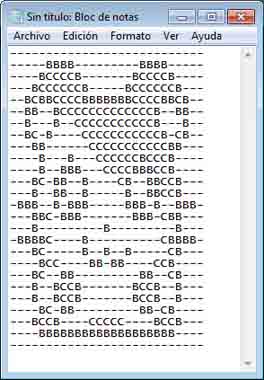
12. The copied text has "Tab" characters. Replace the "Tabs" with a void space (select the Tab character and use Edit - Replace or Ctrl + R). Paste de "Tab" character in the first field and leave void the second field. Click in "Replace All" button.
13. And you will have the exact text to use it in the Alpha Pattern Generator from friendship-bracelets.net
14. Select entire text (Ctrl + E) and copy it to clipboard (Ctrl + C). Open the Alpha Pattern Generador from friendship-bracelets.net and paste it into textarea field.

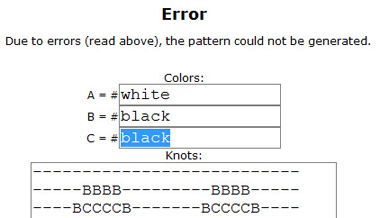
15. Generate it!. You will have some errors. Change the colors for each single letter and erase the last void line/row from pasted text.
16. Generate it! again. If no errors presented, click the "I'm done. Save." button.
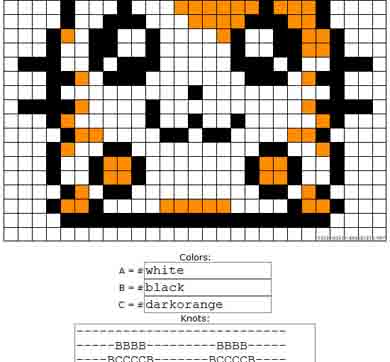
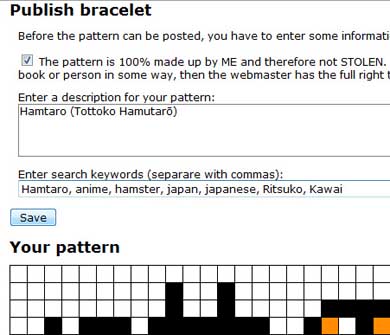
17. Insert the image description, keywords (tags) and click "Save" button.
18. That's all, friends! Have a happy pattern construction.
Versión en Español and high quality images

by --==[ XcUiDi ]==--
Editors
The original author of this tutorial is XcUiDi .
Comments