The Wave/Peruvian
| Table of contents |
|---|
| 1 - What You Need 1.0 - Step 1 1.1 - Step 2 1 - Pictures 2 - Videos |
What You Need
- 8 strings(Embroidery Floss usually works best) (2 strings for each color)
- 2 pieces of yarn (optional, it's better for thickness) (You will not see these 2 strings)
- You should make each string around arm length.
To start off, let's say your colors are red(1), blue(2) and green(3) and the yarn color is black(4).
So your string order to start off with should be:
4 4 3 3 2 2 1 1
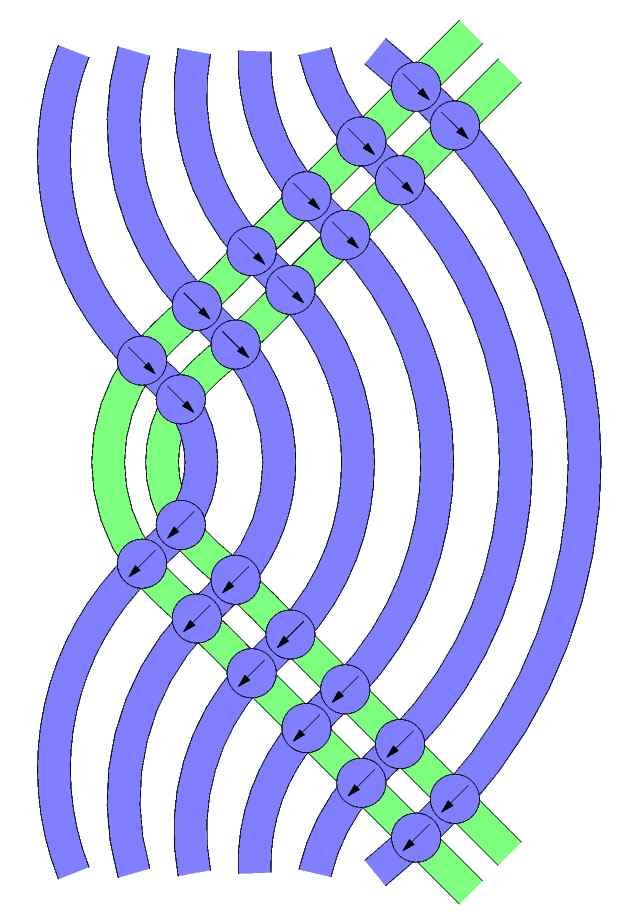
Step 1
Take string 3 (it should be the left green) and make a backwards knot over string 4 ( on the right side) and then make the same string 3 and make a backwards knot over the left piece of yarn.
You should repeat this until all strings are on the left side of the yarn.
Step 2
The new order of the string is 1 1 2 2 3 3 4 4.
So you take the right string 3 and go over the left piece of yarn (string 4).
You should repeat this until all strings are on the right side of the yarn.
To finish the bracelet, repeat steps 2 and 3 until your desired length.
The pattern will show up on the back.
*Note: If you would like the sides of the bracelet straight, pull tight. If you would like them curvy, pull the strings lightly.*
~penguingirl
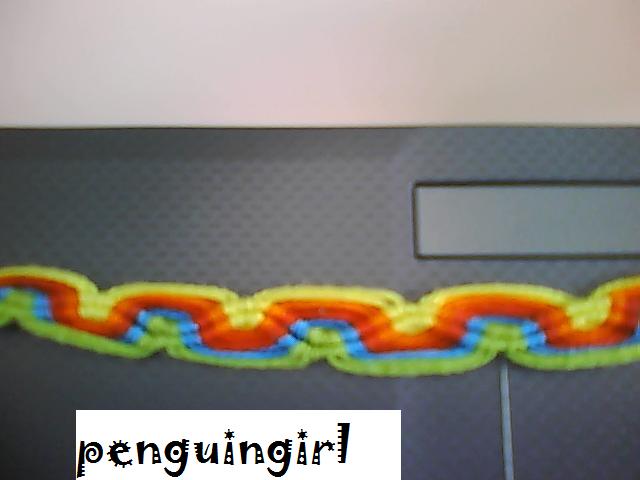
Pictures
Here are some picture examples...


Videos
Editors
The original author of this tutorial is penguingirl .
Uploaded photos (see all 2)


Moderator comments Show comments